The neck
 |
| The neck is laminated from quartersawn sapele and 5mm thick rock maple. |
Some luthiers scarf joint the headstock to minimise on stock use but I normally use 8/4 stock (2" thick) quarter-sawn boards and am able to get two necks out of one board with a 10 degree headstock.
 |
| Sapele blocks glued on headstock The headstock shape is traced on in pencil |
 |
| The TMC logo is cut from mother of pearl |
 |
| Logo positioned on headstock prior to routing |
 |
| CA glue is used to bond the pearl in place |
 |
| I think there is quite a bit of squeeze out on this one! |
 |
| The neck is then bandsawn to shape carefully following the fretboard. I covered the truss rod adjustment slot with a little blue tape to prevent any dust ingress |
 |
| Neck rough sawn |
 |
| Once the neck was rough sawn I used some self adhesive sandpaper on a precision ground steel beam to finish the edges. I find this easier to use than a block plane or finish plane as you can get right to the headstock radius and it is dead straight/flat.Neck clamped in the vice. Note the use of the aluminium radius beam again. Truly a multi purpose tool. |
Fretting
 |
| Bending the fret wire |
To do that I use the Stewmac fret bending machine. You adjust one of the adjustable wheels to whatever radius you want (a bit of trial and error) and you are all set. Simply insert the fret wire and wind the handle. In a few seconds you end up with a perfectly curved radius to your parameters

Next you cut the frets to length with a fret wire cutter and insert them into the fretboard
After all the frets are inserted it is a simple matter of snipping the ends off.
Next time I tackle the body slab

 |
| Fret wire bent to 6 1/2" radius |
 |
| StewMac Fret insertion Caul |
I use a drill press with a StewMac fret insertion caul of the correct radius to push the barbed frets into the board.
 |
| Frets overhand each side of the board about 1/4" |
 |
| All frets inserted |
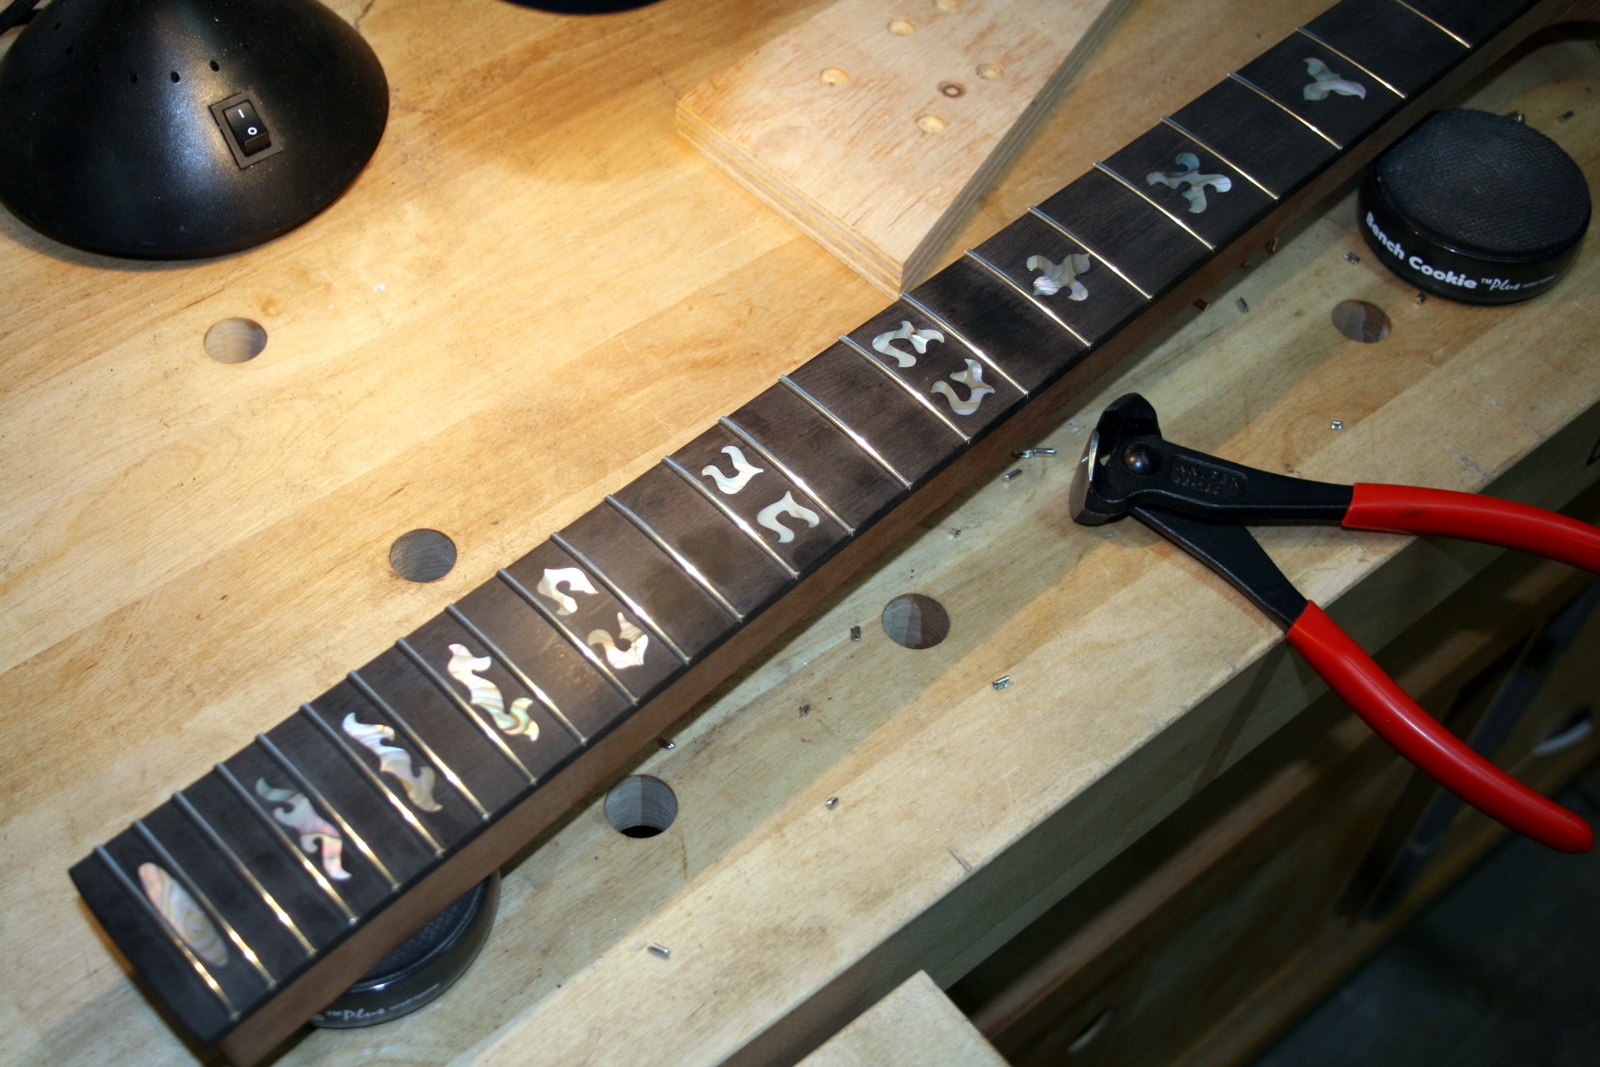 |
| Snipping the fret ends |
 |
| Using a file in a wooden block to file the rough ends down |
 |
| Bevelling the ends with a file embedded in a PTFE block |
 |
| The fret ends need a lot of work with a fine fret file to remove all the scratches and rough edges. Each finished fret end will look like this. I had to do it 48 times for this neck |
Shaping the back of the neck
 |
| Roughing out with a flat bottomed spokeshave |
 |
| Here you can see the plastic gauge in the bottom LH of the picture. In the top RH of the picture you can see the shaped caul that has self adhesive sandpaper attached This is used to shape the neck to a consistent radius. |
 |
| A final rubdown with some 220grit and the neck is done for now. There is a little more work to be done but that is in a future post. |
Next time I tackle the body slab
No comments:
Post a Comment